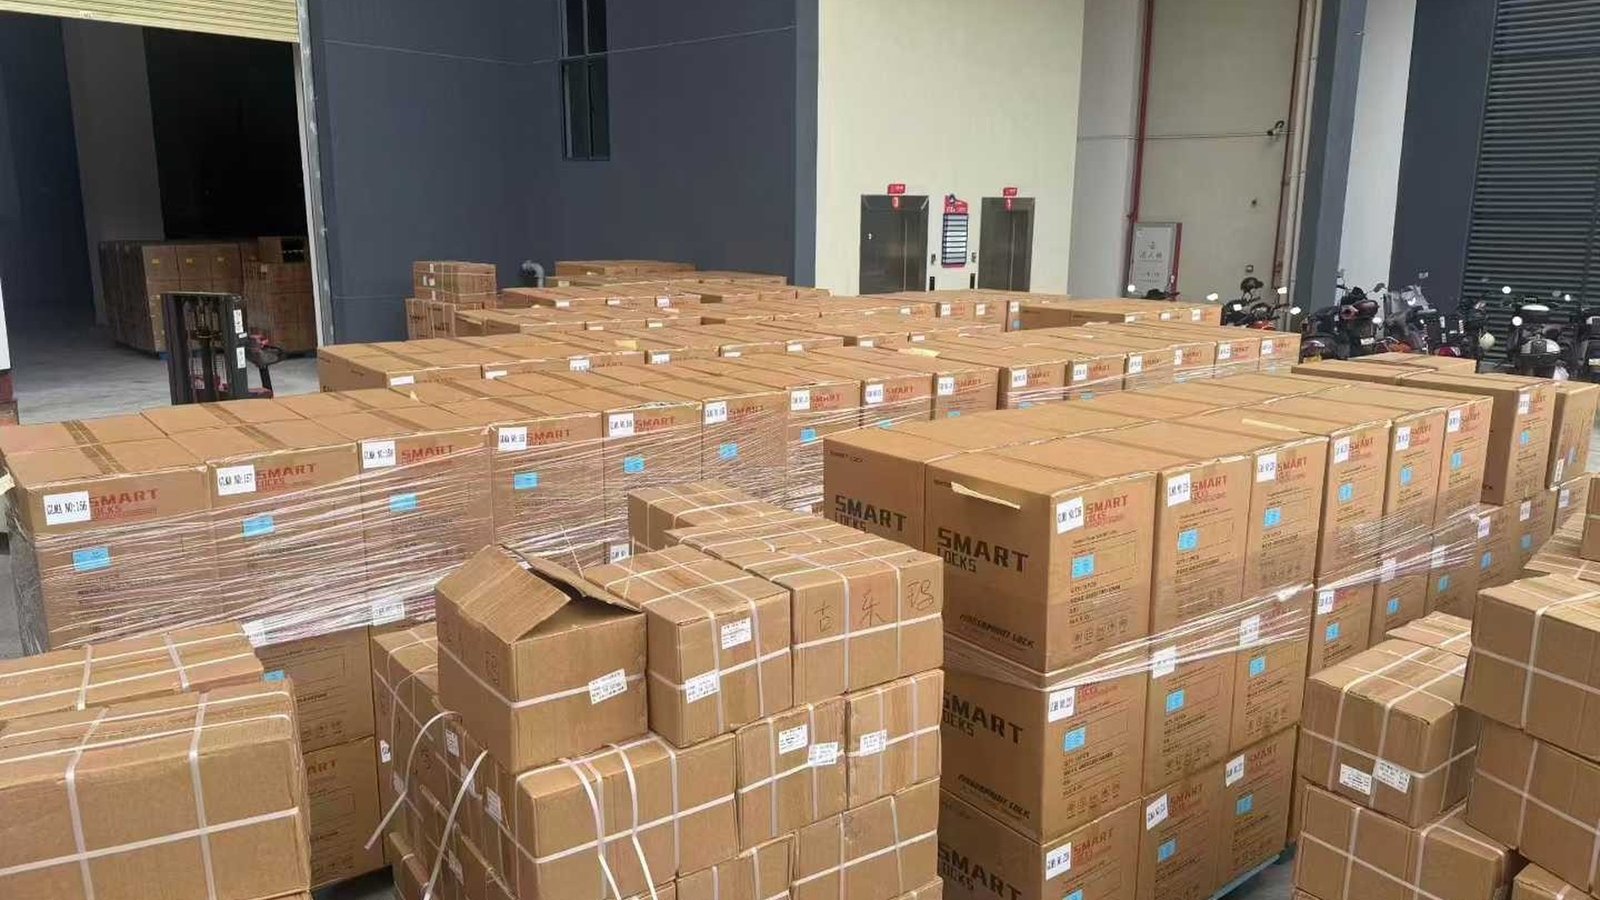
A container of smart locks arrives at the warehouse on a Tuesday morning. The driver is on a schedule, the dock is busy, and the paperwork is a stack of paper that nobody wants to read twice. Everything that happens in the next hour decides whether a shipment becomes stock — or becomes a dispute.
This is the receiving moment: the first and only time the goods are seen exactly as they left the factory. By the end of the day, cartons will be opened, pallets broken down, and the evidence of every shortage or damage will be exactly as good as the notes and photos taken at the dock. This article walks through that hour the way an experienced importer handles it — because most after-sales arguments are settled not by what happened, but by what was documented when the truck door opened.
Before the container is opened
The first set of checks happens with the doors still closed. These establish that this is the right shipment, in the right condition to open:
Pre-opening checks
- Match the paperwork to the load. Container number and bill of lading details, checked against the delivery documents — photograph the documents at the dock, not later at a desk.
- Inspect the seal. Note the seal number and confirm it matches the shipment documents. A seal that doesn’t match, or is already broken, is not an inconvenience — it’s an escalation event, documented before anything else happens.
- Look at the container itself. Obvious external damage, fresh dents, water stains, or a floor that sags when you step in. Photograph the container before unloading so the condition is on record.
- Set the photo standard before you need it. Overview shots first, then close-ups with a ruler or reference object in the frame. A close-up with no context is nearly useless in a claim; an overview with no close-up leaves the detail unproven.
Opening the doors: the photo sequence that settles arguments
When the doors open and the cargo is still on the vehicle, the load is in its most valuable state for evidence: nothing has been moved, and a whole-shipment photo captures exactly how the pallets were loaded and braced.
Step 1 — The loaded container, doors open
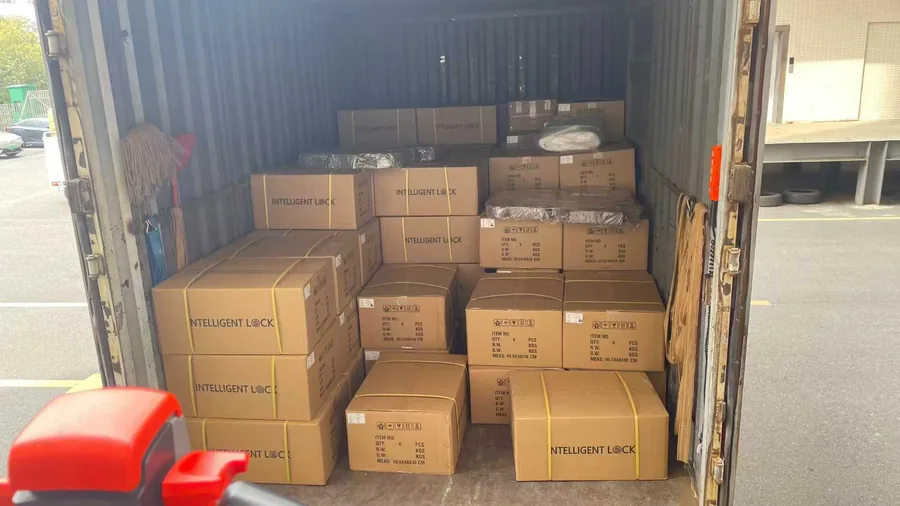
One wide shot of the interior showing pallets and cartons in place. This is the photo that proves the loading pattern, the stacking, and whether anything shifted in transit.
Step 2 — The empty container interior
Before closing the truck, one clean shot of the empty container — walls, floor, ceiling. This is the industry standard shot that closes the question “did the damage come from inside the container or from the handling afterward?”
Step 3 — Cartons at the dock, before they leave the area
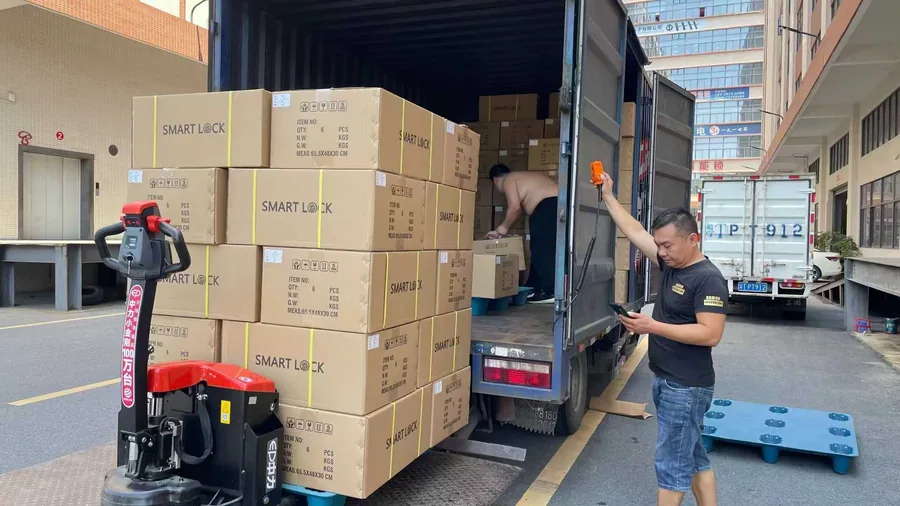
Photograph cartons while the delivery vehicle and driver are still present. Crushed corners, water lines, and punctures are all trivially easy to document now and nearly impossible to attribute correctly once the pallets are in the racking.
Counting and identifying: the checks that catch shortages
Once the shipment is unloaded and the driver is released, the counting begins. The key is to compare the physical load against the documents systematically, not selectively:
- Cartons against the packing list. Count cartons first, then open the pieces: unit counts inside each master carton against the packing list, and the master carton markings (product model, quantity per carton, gross weight) against the same list. A carton marked “6 PCS” that contains five is found here — or discovered months later by a customer.
- Model mix against the order. Mixed orders fail in a specific way: the count is right, but the wrong models were loaded. Check the mix, not just the total.
- Accessories and documentation per the packing list. What the packing list says should be in each box — keys, screws, strike plates, gaskets, manuals — should be checked on a sample-per-carton basis, not assumed from the first carton.
- Damage described precisely. “Damaged” tells a supplier nothing. “Carton 12 of 40, top-right corner crushed 8 cm, contents intact” is a sentence that can be resolved in one email. Describe the location on the pallet, the extent, and whether the unit inside appears affected.
The rule that saves the most money: photograph the same cartons you count. A count is a claim; a counted carton with a visible label in the frame is evidence.
What happens after the first carton is opened
Once the pallets are broken down and put into stock, the shipment stops being a single verifiable event and becomes inventory. That’s why the sequence matters so much: the receiving process works in one direction — the earlier the check, the stronger the evidence, and it cannot be reconstructed afterward.
Three practical habits separate teams that resolve claims in a week from teams that argue for a quarter:
- Keep the quarantine zone real. Anything with a discrepancy goes to a defined physical area, with the count and photos attached, instead of being mixed into sellable stock.
- Report within the window. Many supply agreements define a period for shortage and damage claims after arrival. Report as you find — a discrepancy reported on day 2 is a business conversation; the same discrepancy reported on day 30 reads as an internal loss the receiver is trying to pass upstream.
- One reference per discrepancy. A single record that links the order, carton numbers, quantity expectations, observed condition, and photos — so the supplier can respond to facts rather than to a summary.
How we support this on our side of the shipment
Receiving checks only work if the shipment leaves with something to check against. In our supply process that means:
- Carton-level information. Our export cartons carry item numbers and marked quantities, and shipments leave with packing information that receiving teams can count against — as visible in the container photos above.
- Order details kept available. Buyers can request product documentation for their ordered models from the Download Center, so receiving and installation teams work from the same reference as the factory.
- A clear channel for discrepancy reports. Photos, carton numbers, and quantities — sent to our team — get a factual response rather than a generic apology.
And the honest boundary: we don’t promise claims processes that aren’t in your supply agreement. The point of this article is that a well-documented receiving process makes any agreement easier to run — for both sides.
Common questions
Our warehouse is too busy for a full count on arrival day. What can we defer?
Photograph everything, then count what you can. The photos taken while the truck is present are the perishable part — the counting can continue the next morning from cartons that are already documented. What cannot be reconstructed later is the state of the load at the dock.
The driver is in a hurry and won’t wait for the opening photos. What then?
Take the exterior and seal photos before signing anything — that part is seconds. If the driver must leave, photograph the cartons at the dock before the pallets leave the unloading area; the cartons themselves still carry the evidence, even if the container doesn’t.
Is the empty-container photo really necessary?
It settles exactly one question — whether damage came from loading or from post-unloading handling — and it takes thirty seconds. It’s standard practice in container receiving for that reason.
Planning a shipment and want receiving to be this simple?
Tell us your market, models, and order scale. Our team will walk you through packaging, marking, documentation, and delivery arrangements for your project — so arrival is a routine, not a risk.
Or review our pre-shipment inspection checklist for the factory-side counterpart to this process, browse our product ranges, and see our factory overview for how orders are assembled and packed.