Every installer knows the job that starts with a question mark: the door on site was described as “standard”, the hardware is in the van, and forty minutes into the visit the fit is in doubt. Multiply that across a building, and schedule slips stop being an inconvenience and become cost.
The fix isn’t more skill on installation day — it’s a shorter, sharper confirmation the day before. This article is written from the installer’s side of the doorway: what we need confirmed before we arrive, why each item costs money when it’s discovered late, and the difference between a fit question and a do-not-proceed condition. If you’re the buyer, consider this the checklist worth running past your installer before the calendar slot.
The difference between a question and a blocker
Not everything on this list is equally urgent. It helps to sort issues into three tiers, because they lead to different actions:
Three tiers of fit issue
- Blockers (attended before the visit): door preparation type that doesn’t match the lock family, a door far outside the model’s documented thickness, a frame that can’t accept the strike side. These can’t be solved on the day with effort or ingenuity; they mean the wrong product for the door.
- Adjustments (resolved on site if known in advance): slight non-standard thickness within a workable range, installed door closers, existing hardware to be replaced, handedness questions. These just need the right tools and time planned.
- Notes (nice to know): paint touch-up risk, working hours, the neighbor’s door that also sticks. Informational, prevents surprises.
What we ask before an installation visit
The list below is the working version of what our team asks when a project moves from order to installation. It deliberately overlaps the buyer’s own pre-purchase checks — because the installer’s confirmation isn’t a replacement for those, it’s the same facts verified in person by someone who will be standing at the door:
Confirmation set — door and site
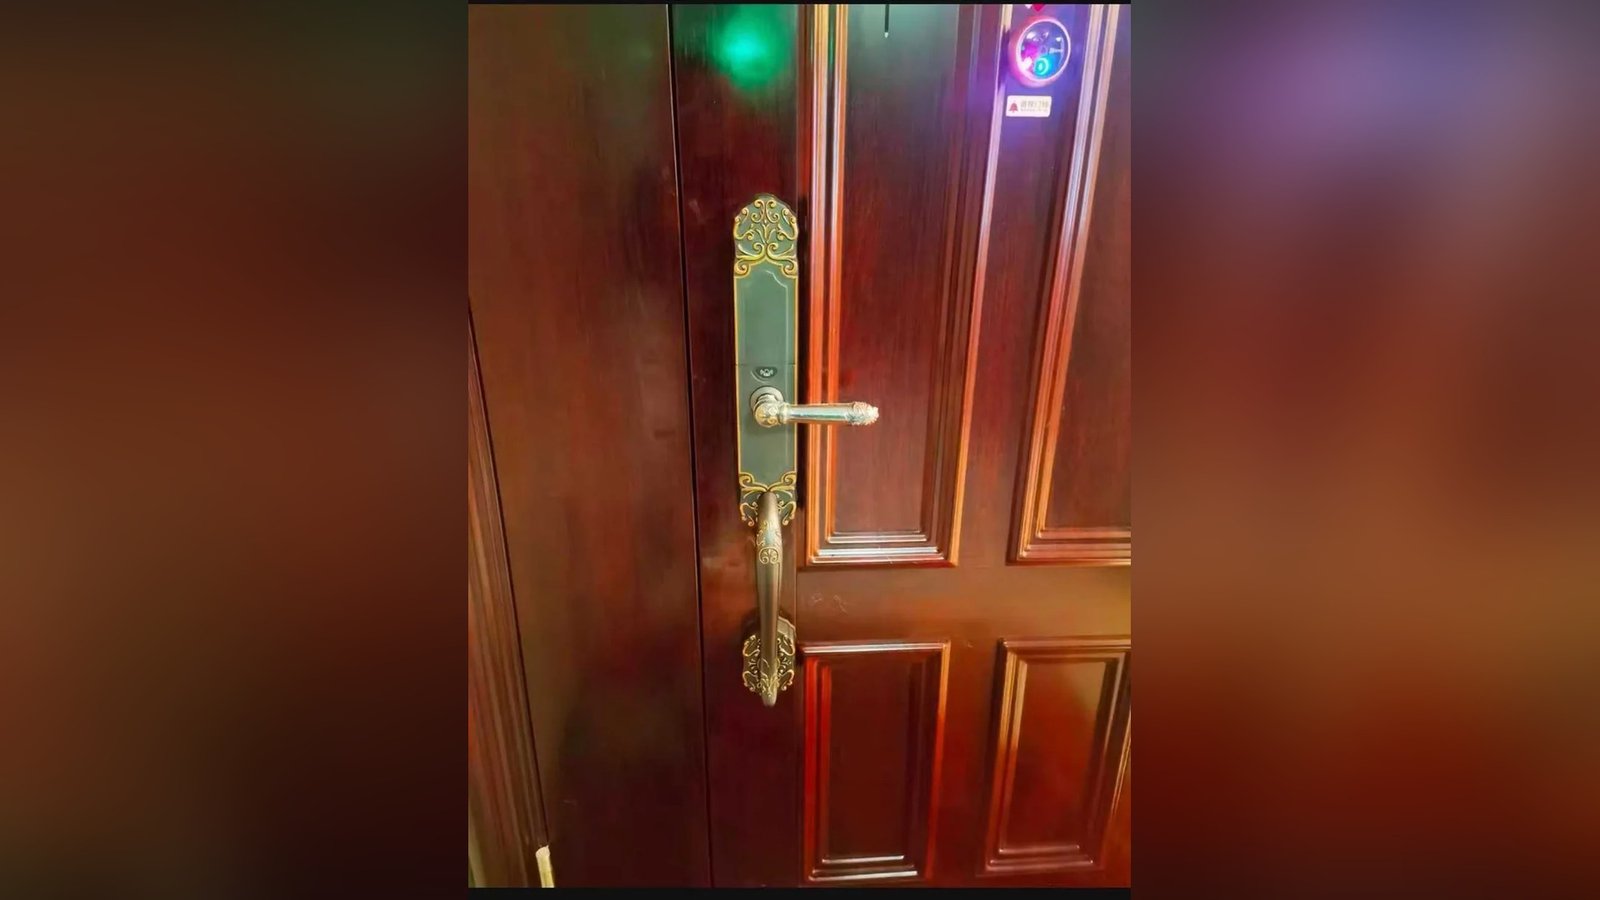
- Door type and construction: solid wood, metal/steel, aluminum profile, framed glass. This decides the lock family before anything else — a deadbolt for a timber slab, a mortise lock for an aluminum frame, or a glass-door solution for glazed systems.
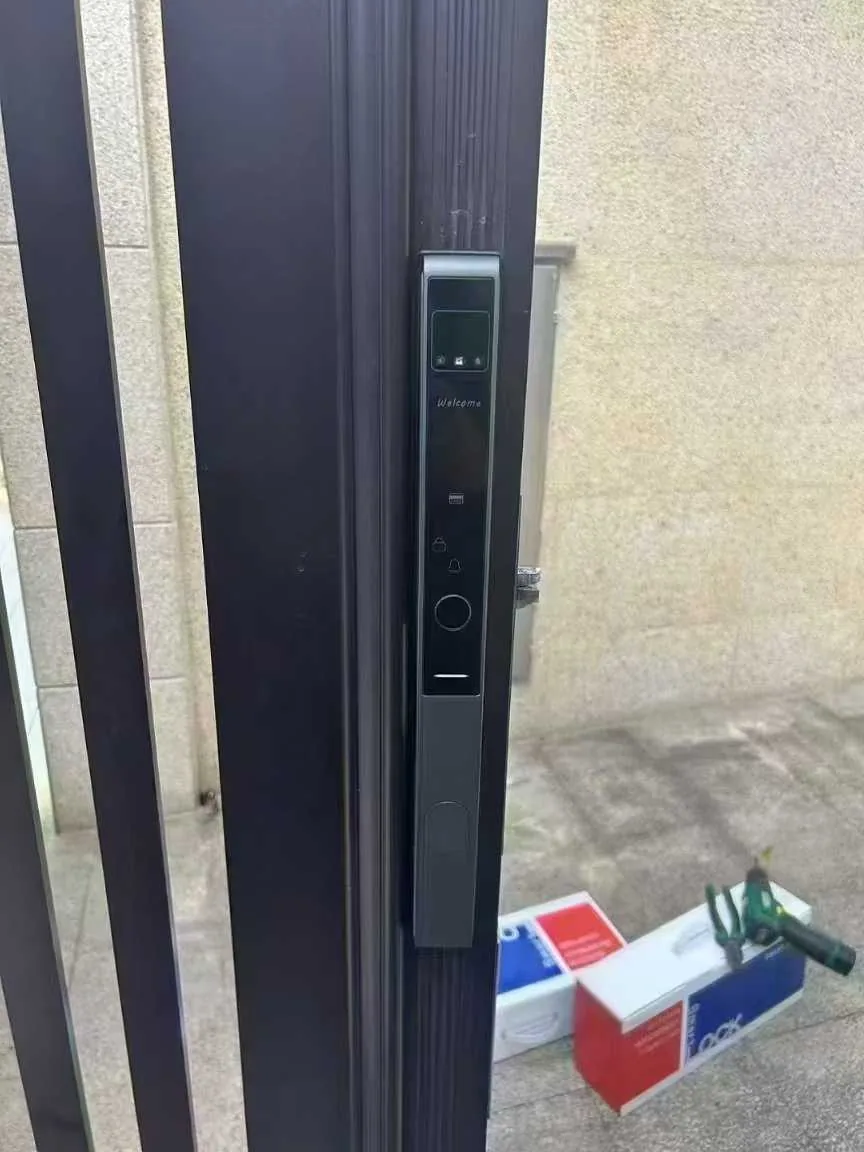
- Thickness measured at the door, not remembered from a spec: take the slab edge measurement at top, middle, and bottom. Our deadbolt models document a 35–55 mm working range; LK0161 documents a standard 3585 mortise for aluminum doors.
- Existing preparation: what holes exist — a cylindrical cross-bore, a rectangular mortise pocket, or nothing yet; and what state the door edge is in.
- Backset and lock case: for deadbolts, the edge-to-center distance and the lock-tongue choice (60/70 mm options per our DS documents); for mortise locks, the body standard the pocket is cut for.
- Hardware already on the door: and its handedness. Replacing hardware that fights the new lock body is the most common source of “this will take longer than planned”.
- Frame and strike side: condition, alignment, whether the door currently swings freely closed, and whether a door closer will fight the lock’s throw.
- Site conditions for the day: power at the door if power tools are needed, parking/access for toolboxes, whether the entrance must stay functional during the visit.
The measurements that most often aren’t standard after all
Field experience maps neatly onto what the buyer-side and installment-side questions have in common. The two “standards” that most often aren’t:
- Door thickness. Wooden doors expand and shrink, doors get re-faced, old buildings never met any standard. A three-point measurement takes two minutes and settles it.
- Preparation. “There’s already a hole” is not a fit specification. A cross-bore is not a mortise pocket, and neither is a patch fitting for glass. Phone photos of the door edge next to a ruler have saved more installation visits than any clever tool.
For the buyer, this is the same five-minute task our door-fit guide walks through — worth doing before order, and worth re-confirming before the visit because door condition can change between quotation and installation (settling, repairs, a re-paint).
For project buyers: turning this into a process
On a multi-door project — a building, a hotel floor, a batch of villas — this confirmation shouldn’t live in individual messages. The pattern that avoids most scheduling damage:
- One door schedule, one row per door. Type, thickness, preparation, backset, hardware, photo link, lock model assigned. The installer works from this; it also becomes the record for what’s installed where.
- Two gates: fit confirmation before hardware is ordered (the buyer’s side), and site confirmation before the installation slot (the installer’s side). The second is quick if the first was done — and it catches the changes that happened in between.
- Exception flag, not silent variance. Doors outside the documented range go into a visible exception column — they get an answer (different model, adapter, not this door) instead of an on-site improvisation.
The same discipline carries into what we state for our own supply. For example, our DS01/DS05 deadbolts document a lock tongue option of 60/70 mm and a 35–55 mm door-thickness range; where a door falls outside the documented range, the honest answer is a different model or series, not “probably fine”. Having that in writing, per door, is what makes a project-installation schedule actually hold.
The handover moment installers shouldn’t skip
One more item that belongs to the installer’s day, not the buyer’s: the post-installation walkthrough. Before leaving the site, confirm with the person who will use the door daily that they can enter and exit with their primary method, know the alternate methods, and have seen where the mechanical override key lives. It takes five minutes and eliminates the most common “support call” category entirely: a lock that works, used by someone who wasn’t shown how it wants to be used. (The user-side complement to this is in our article on making entry work for older hands.)
Common questions
Our installer says the door “should” be fine. Is that enough?
“Should” is the word that costs the most. The pre-visit confirmation exists precisely to convert it into a measured statement — thickness at three points, preparation photographed, frame condition noted. It’s minutes of work against a potential second visit.
Can a non-standard door still take a smart lock?
Often yes, but the path is per-door, not per-product-assumption: adjust within a documented range, switch lock family (deadbolt vs mortise vs glass systems), or conclude that this door needs a different entry plan. Our catalog deliberately documents each model’s fit statements separately for exactly this reason — send us the door details and the answer comes from the sheet, not from optimism.
What about doors with an existing multi-point lock?
That’s its own fit conversation — multi-point systems have their own geometry requirements and are not automatically compatible with lock families designed around single-point preparations. Photograph the door edge and the existing mechanism’s markings; the answer may be a specific series or a “not this lock” conclusion, both of which save on-site rework.
Managing installations across a project?
Tell us the door schedule and your market. CaremLock supports distributors, installers, and project buyers with model documentation per door type — so fit is answered before the visit, not during it.
Or review the DS01, DS05, and LK0161 model pages and contact the team.